
How to Tune and Wax Your Skis
|
|
Tuning and waxing your skis is an essential part of ski maintenance. Tuning helps keep your skis in peak performance and carving well. Waxing helps to protect the ski bases and improve glide performance. Whether you're a beginner or an experienced skier, learning how to tune and wax your skis properly can make a significant difference in your skiing experience. In this guide, we'll walk you through the process step-by-step, ensuring that your skis are ready for the slopes.
Properly tuned skis are essential for optimal performance on the slopes. Follow these steps to tune your skis for better edge grip, turning, and control.
Step 0: Grab a Buddy, a Beer, and Some Tunes
This goes for both tuning AND waxing. Ski tuning/waxing can be a monotonous process, especially if you are tuning more than one pair of skis. You'll have a much better time with a ski buddy by your side, a bubbly beverage on the table, and your favorite tunes on the speaker.
Step 1: Gather Supplies
Ski vise or tuning machine
Gummi stone or diamond stone
Sidewall planer
Plastic scraper
Ski brake retainer (rubber band, ziptie, ski strap, voilé strap all work great!)
Ski tuning base and side edge bevels
Ski tuning file
Brush (horse hair or nylon)
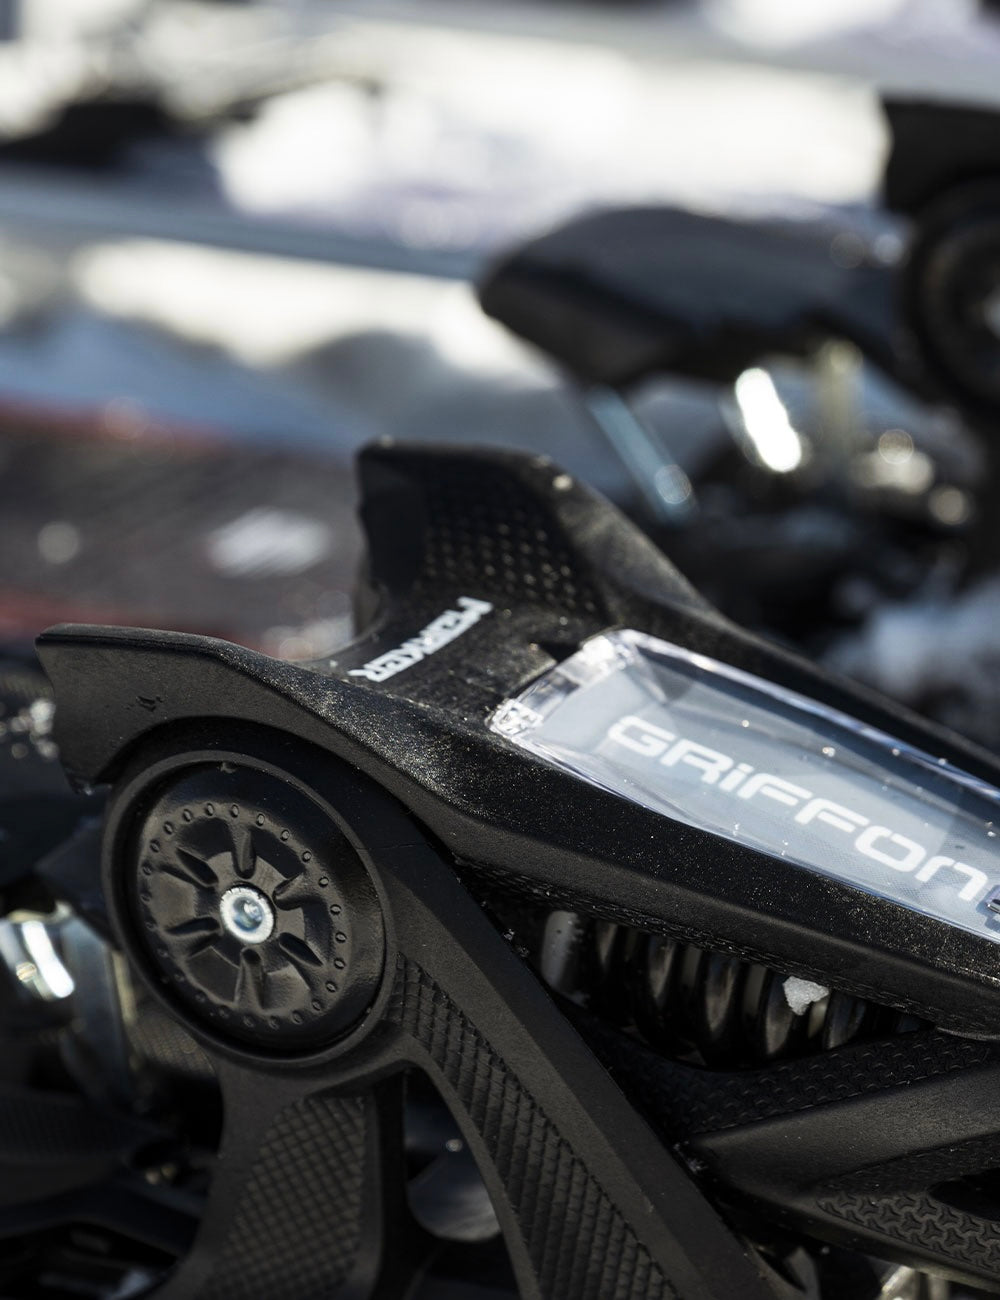
Step 2: Secure Your Skis
Mount your skis securely in the vise or tuning machine, and use the brake retainer. Getting your brakes out of the way will ensure that you can tune the entire edge.
Step 3: Deburr & Detuned Edges
Use the gummi/diamond stone to remove burrs and detuned areas on side edges. This will create a clean, smooth surface for the file.
Step 4: File-Tune Edges
For file-tuning, use a mill file or ½ round file to create a beveled edge and flat inside edge.
Then, bevel the side edge at 88-90 degrees (a 1 degree tune is perfect for all-mountain intermediate skiers.)
For a more aggressive tune, opt for an 88-degree (2-degree side edge) tune. Racers might opt for something more aggressive, but we’ve found this is plenty of bite for a standard resort day.
File base edge flat at 90 degrees
Make sure to move only in one, consistent direction when filing. The file and file guides should have arrows to point you in the right direction. ALWAYS follow the arrow.
Once you’ve made 3-6 passes on your edge with the file, make sure to detune the tip and tail edges of your ski. The first 4ish inches, and the last 4ish inches should be detuned. To detune the tip and tail, just run a gummi stone or diamond stone perpendicular to the edge to take the sharpness out of those areas.
Step 5: Flatten the Base
Use a plastic scraper to level and remove debris from the base. If you notice the base of your ski is particularly bumpy or uneven, take it to a shop for a stone grind. A grind only needs to be done every season or two, or when the base shows significant bumps and is no longer completely flat.
Step 6: Brush the Base
Use a brush to finish texturing the flattened base. Use a stiff, brass bristled brush or a roto brush to ensure a flat finish with no leftover debris.
File-tuning gives you sharp, precise edges crucial for grip and edge hold on firm or icy snow conditions. The flat inside edge engages the full effective edge.
Regular tuning every 5-10 days keeps skis performing their best. With file-tuned edges and a flattened base, you'll carve like never before!
Now, lets get to part two: How to wax your skis.
Step 1 : Gather The Supplies
Gather the necessary supplies before you begin. You can often find the majority of this equipment bundled together into ski wax kits. These kits may include almost everything you need, but at least should include some of the most important gear.
What You’ll Need:
Ski vises and ski waxing table or workbench
Ski brake retainers (super strong rubber bands, ski straps and zip ties work great)
Ski wax (choose the appropriate type for the snow conditions)
Wax remover or base cleaner (isopropyl alcohol is great in a pinch)
Plastic scraper: Pick a scraper with a corner cut out from it. This corner will make it much easier to scrape wax off your edges, the one place you’ll want to make sure has zero wax.
Ski wax iron (Make sure your waxing iron is designed for melting ski wax, clothes irons don’t keep temperatures as consistently.)
Brushes (brass and nylon work great, don’t get anything stiffer to ensure you don’t damage your skis’ bases.)
Fiberlene (or similar synthetic scrub pad)
Step 2: Prepare the Skis
Secure the skis in the ski vise or workbench, ensuring that the bases are facing up.
Use a brass or copper bristled brush to dislodge and get a first pass at removing dirt, dust, or any old wax from the bases. Make sure to brush from tip to tail.
Use the wax remover or base cleaner to remove any old wax or dirt from the ski bases. Isopropyl alcohol and a fiberlene rag work great.
Dry the ski bases thoroughly with a clean piece of fiberlene.
Step 3: Apply the Wax
Turn on the waxing iron and set it to the recommended temperature for the type of wax you're using.
Slowly drip the wax onto the ski bases, starting from the tip and working your way to the tail. Ideally, small wax droplets are evenly distributed along the length of the ski, ensuring you have just enough to cover the entire base during the next step.
Step 4: Distribute the Wax
Use the waxing iron to evenly distribute the wax over the ski bases.
Slowly glide the iron across the base of the ski, so the iron can heat and spread the wax across the base. This leads to the base absorbing more of the wax.
After slowly making your way down the ski, make slow circle motions with your iron to make sure the wax is evenly applied across the entire base.
Apply even pressure and make sure to cover the entire base, including the edges.
Let the wax cool and harden before moving on to the next step. You want to be able to touch the base of the ski and feel no warmth. Pro tip: to save time, set the freshly waxed ski aside and start the process on the other ski.
Step 5: Scrape the Excess Wax
Use the plastic scraper to remove the excess wax from the ski bases.
Hold the scraper at a slight angle and apply firm pressure as you scrape from tip to tail.
Use the corner of your scraper (especially if it is cut out) to remove wax from the edges. You’ll want to make sure to remove all the wax from the edges before going skiing.
Step 6: Brush the Ski Bases
Use the nylon brush to remove any remaining wax residue from the ski bases. For an extra-polished finish, use a roto brush to really get that excess wax off
Brush in a tip-to-tail direction, applying moderate pressure.
Follow up with the nylon brush, brushing in the same direction.
Step 7: Finish with Fiberlene
Finally, use the Fiberlene or similar synthetic scrub pad to polish the ski bases. Optional: use a little bit of isopropyl alcohol to help pick up any wax shavings or dust.
Rub the Fiberlene back and forth across the ski bases, applying moderate pressure.
By following these steps, you'll ensure that your skis are properly waxed and ready for optimal performance on the slopes. Remember to wax your skis regularly to keep those skis in tip-top shape. The frequency will depend on your skiing conditions and usage. Happy skiing!
The wax you’ll want to use will depend on the conditions and temperature of the snow you’re skiing on. It may also depend on the amount of time and effort you want to spend waxing your skis and prepping them for skiing.
There are so many different ski wax options available these days, that it can be tricky to understand the differences between them. Ever wondered what the different colors, temperatures, and compositions mean, or when to use them? We’re here to help.
Try a rub-on or spray-on wax. These ski waxes don’t require an iron to melt the wax or a wait before scraping it off. We like to keep rub-on or spray-on wax in our ski boot bags as a backup. This means that you’ll always be able to throw a quick coat of wax on if the snow is extra sticky. Keep in mind that for best performance, a melt-on wax using an iron is most effective.
To dial in your skiing experience and truly maximize the impact ski wax has on the skiing experience, ski wax makers have developed a variety of different waxes to suit different conditions. For example, a ski wax designed for cold temperatures is harder, has a higher melting point, and is designed to handle the dry friction common in cold conditions. A ski wax designed specifically for warmer snow temperatures (not air temperature!) will have a lower melting point and be designed to handle the wet friction common when the snow temperature rises.
Not necessarily! Many ski wax manufacturers make an “all temperature” wax that is perfect for the majority of ski days. You may want to use a temp-specific wax on particularly cold or warm days, but on the vast majority of days, you can get away with an all-purpose wax. If you’re a racer focused on performance, you’ll want to specify the wax to the race conditions- especially ahead of an important race day.
Fluorinated Wax is the tried and true wax that your parents used to keep their skis slick during beer league race day. Fluorinated wax contains fluorocarbons, which are hydrophobic. This means they repel water and are perfect for use on wet snow like you’ll find on a spring day or after a wet coastal storm. Be careful, because fluorocarbons are harmful both to you and the environment. Make sure to use this wax only in well-ventilated workspaces, and clean up all the wax shavings to avoid polluting.
Hydrocarbon Wax: This wax is best at the prevention of dry friction, and therefore is perfect for ripping up the Rockies, especially on a dry powder day. May not be the best option for people skiing in Cascadia Cement or resorts experiencing freeze-thaw conditions.
Because of the harmful nature of fluorocarbons, many skiers (including us at Renoun!) have searched far and wide for ski wax that is less harmful to the environment. We need to preserve it to keep skiing, after all. A few companies agree and have worked to create high-performance ski wax using plant-based oils as the foundation of their wax. This has led to some waxes now becoming bio-neutral, or at least much more environmentally friendly than fluorinated wax.
For example, the folks over at Mountain Flow Ski Wax have become experts in environmentally friendly ski waxes. Now known as the SharkTank ski wax company that struck a deal with Mr. Wonderful and Barbara Corcoran. They have a variety of different waxes suited to all conditions, from the coldest to warmest snow temps. Their Eco Flow ski wax is a plant based ski wax. They even make an all-temperature wax that is perfect for all but the coldest or warmest days. At Renoun, we even use Mountain Flow Eco Wax All-Temp ski wax as our day-to-day in-office wax. When a pair of our skis needs a fresh coat of wax, this is what we use.
You should always make sure to tune your skis and make any base repairs before waxing. This is because you want the wax to create a smooth, protective barrier on your freshly maintained skis. Make sure to use a brush to remove debris left from tuning, then wipe your skis down with isopropyl alcohol and a fiberlene rag before applying the coat of wax to your skis.
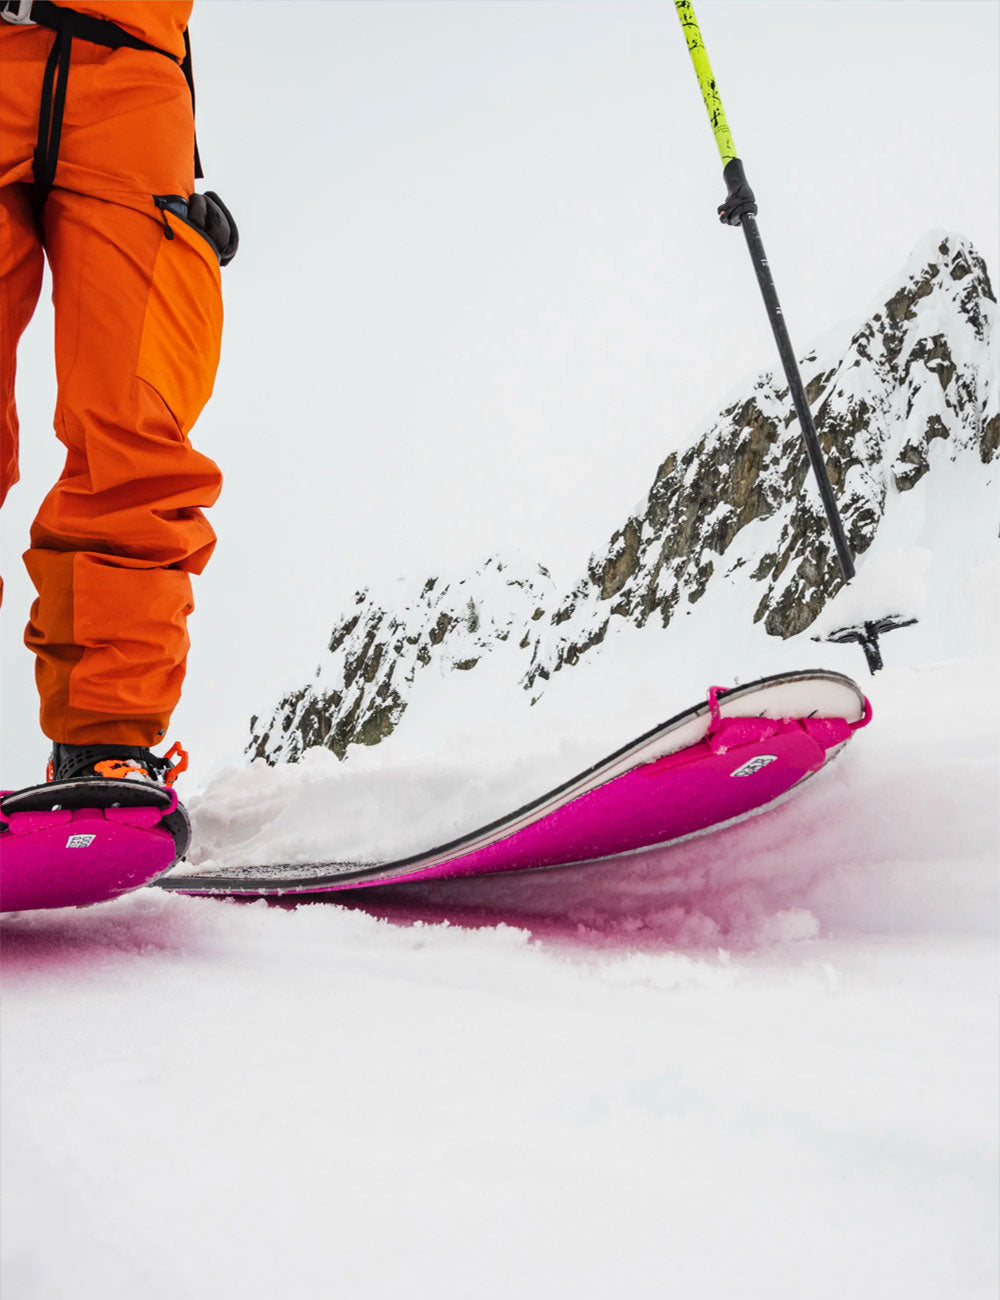
Knowing when your skis need tuning involves checking for both visual cues and performance issues that indicate maintenance is required. Visual indicators include deep scratches on the base, rusty or dull edges, a dry-looking base that appears white or chalky, and any separation between the edge and base material. Performance-wise, difficulty turning, skis feeling "catchy," loss of edge grip when carving, and decreased gliding speed all suggest it's time for tuning. Most recreational skiers should consider tuning after 10-15 days on the slopes, after hitting rocks or debris, at the beginning of each season, or when skis have been stored for extended periods without wax protection. A quick self-check method is running your fingernail along the edge—if it shaves your nail, your edges are still sharp and may not need immediate attention.
When the bases of your skis start to turn greyish and feel rough, it is time to apply a fresh coat of ski wax. You can also tell when you feel friction when skiing, especially noticing how far across a flat you can ski without having to skate or use your poles.
Detuning the tips and tails of skis serves several important purposes for skiers across different disciplines and ability levels. This technique prevents unexpected edge catches that can cause falls or loss of control, while creating smoother turn initiation and completion by reducing the "hookiness" that can occur at the ski ends. Park and freestyle skiers detune extensively to prevent catching on rails and boxes, while all-mountain skiers often benefit from mild detuning for smoother turn transitions in varied terrain. The extent of detuning varies by preference and skiing style, ranging from light detuning at just the contact points to more aggressive detuning for park-focused skiers. Even though detuning is largely a matter of personal preference, almost all skiers can benefit from some level of tip and tail detuning to improve their overall skiing experience and reduce unexpected falls caused by overly sharp edges at the extremities of the ski.
While this depends on the conditions you’re skiing and the frequency, in general, you’ll want to wax your skis at least every 5 days on snow at a minimum. If the conditions fluctuate between cold and warm frequently, we recommend waxing your skis even more often and applying a wax that suits the conditions the next day. If you are a racer or want your skis to be in perfect shape every day, consider waxing your skis after 2-3 days on snow and before every race.
Park skis require a different tuning approach than all-mountain or racing skis, with many park riders intentionally detuning certain areas to prevent dangerous edge catches on rails and boxes. While base repair remains necessary for deep gouges and waxing is important for proper approach speeds to features, edge maintenance for park skis is selective rather than pursuing maximum sharpness. The ideal park ski tuning includes detuning tip and tail edges while maintaining moderate edge sharpness underfoot, creating a balance between slide performance on features and control on snow. Park skis typically need less frequent edge tuning but more frequent base repairs compared to all-mountain skis due to the nature of terrain park features and impacts. Regular inspection after hard impacts and maintaining properly waxed bases ensures optimal performance and safety when hitting jumps, rails, and other park features.
The author: Will Chaltas
Will has over a decade of ski industry experience. With PSIA ski instructor certifications, thousands of hours logged ski instructing, and a lifetime spent on-snow, Will is an expert in the sport. Will also spent time working in brand management, media, product journalism, marketing and customer service before joining the Renoun team full-time in 2023. His favorite chairlift snack is a PB, banana and honey sandwich.
Renoun Skis Reviews team has over a decade of ski design and manufacturing experience, and decades of combined ski-industry experience ranging from certified PSIA ski instructors to shop technicians, racers, and coaches. We also have a deep passion for and love of all things skiing. The team utilizes this experience to provide unparalleled reviews that dive deep to help guide your purchase for just about any ski-related item and help inform you of any ski-focused tips and tricks about maintenance, on-hill performance, and even the best places to enjoy your Après-Ski. Through written and video content, the Renoun Skis Reviews team is here to help inform you on all things ski-related.
Our team curates recommendations based on an intensive research and review process and leverages our unique expertise in the industry. A product must be exceptional in quality and have unique features to qualify for consideration in our review process. For all tips and tricks, all advice is based on on-hill and ski manufacturing knowledge, as well as intensive research to ensure accuracy and help skiers like you stay informed.
To share feedback or ask a question about this article, send a note to our Reviews Team at info@renoun.com.

Free Shipping & Returns
Fast, free shipping and easy returns in the US & Canada.

TryOnSnow™
Ski up to 5 days within 6 months. Not in love? Return for a full refund.
Made in North America
Designed in Vermont, handmade in Québec from premium materials.
Built with VibeStop™
VibeStop™ reduces vibration for smoother, more controlled skiing.


